If you remember one thing from this article: a kitchen lit by one pendant and four recessed cans will never feel luxurious — regardless of cabinetry, stone, or appliances. Layered light is the single most underestimated luxury intervention.
Layer 1 — Ambient (the wash)
General room light. Recessed downlights on a 4-foot grid, dimmable, 2700K color temperature, 90+ CRI. Aim 24 inches off any wall (closer creates a wall-wash effect that feels cheap).
Layer 2 — Task (where you actually see)
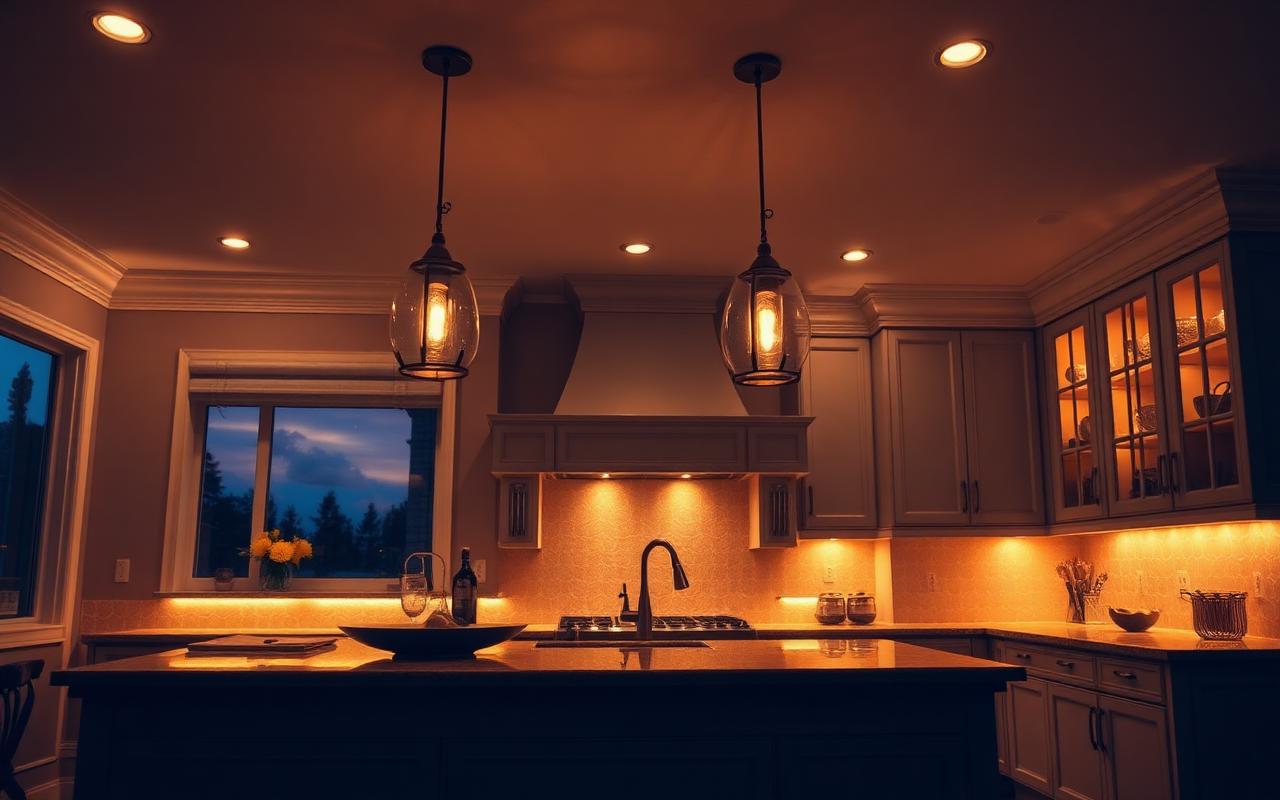
Under-cabinet LED strips, hood lighting, and dedicated pendants over the island. Color temperature matched to ambient (2700K), CRI 95+. Hidden source, never visible.
Layer 3 — Accent (the depth)
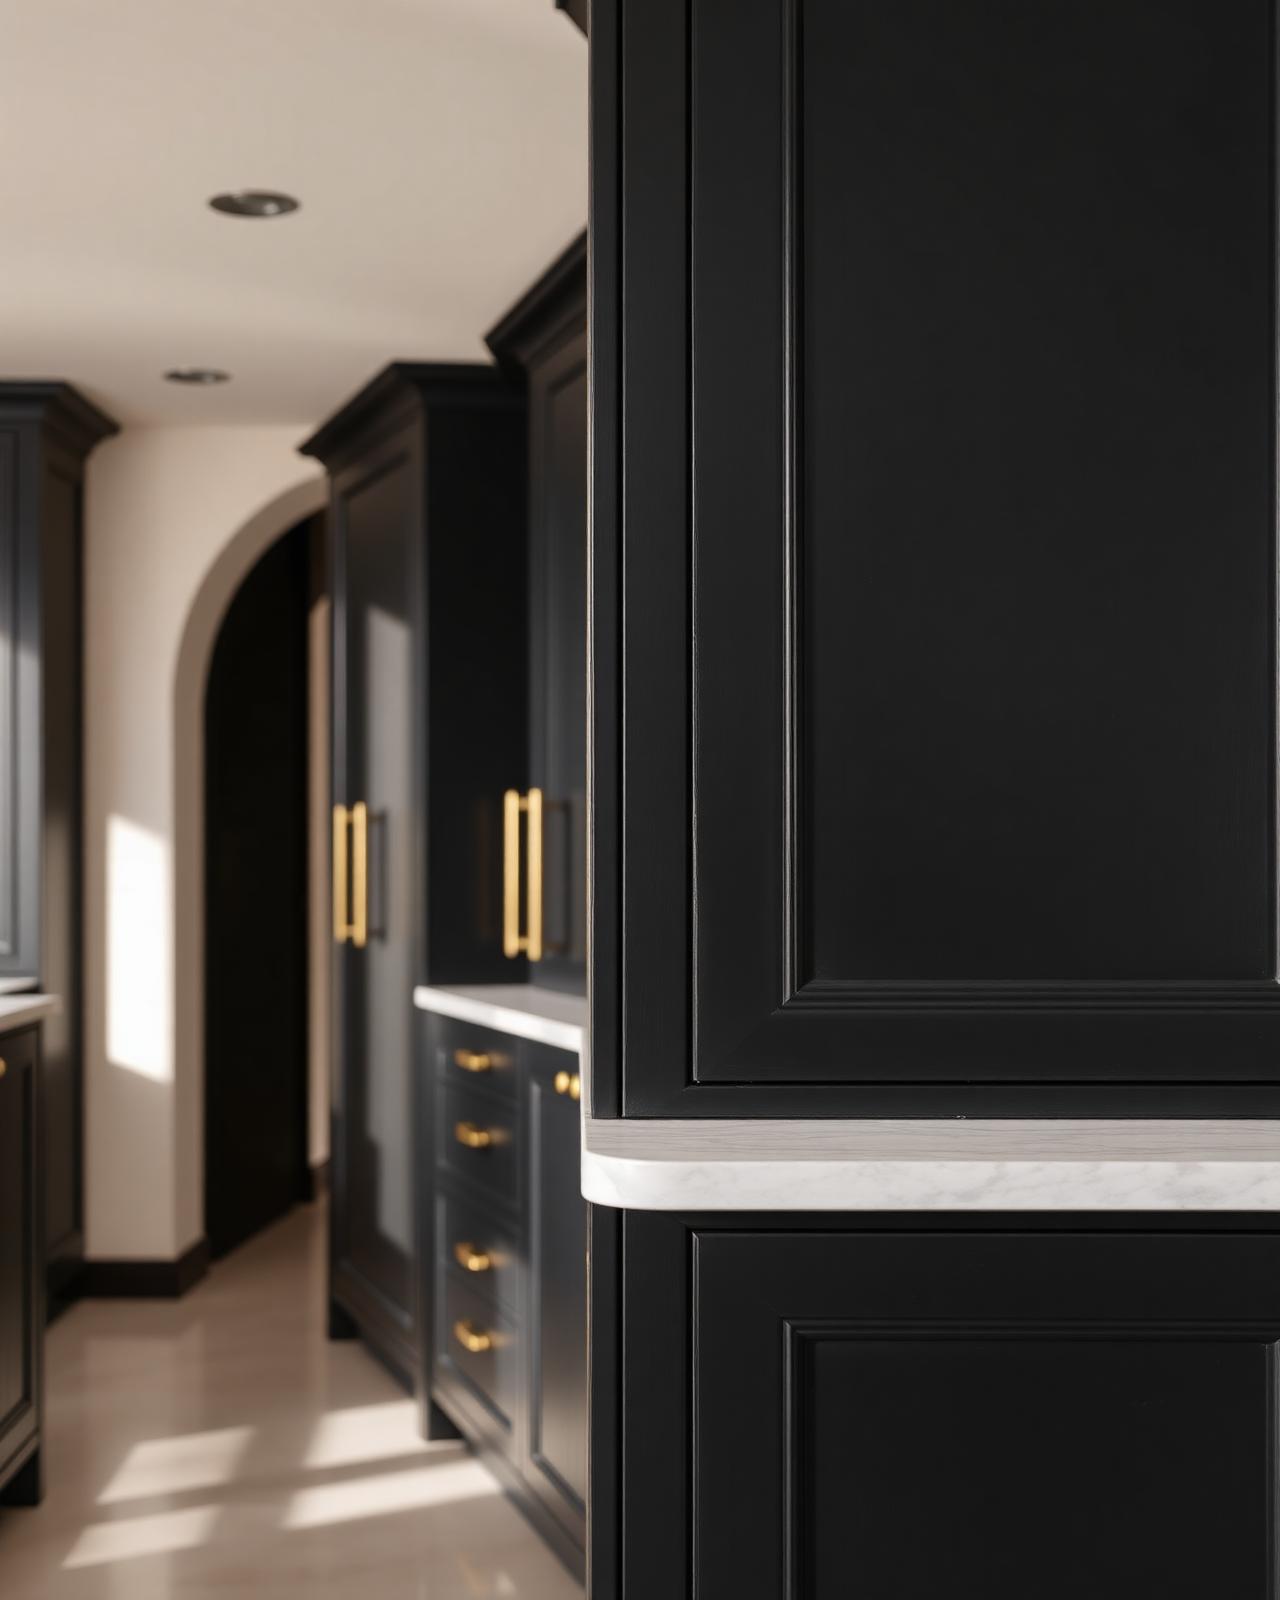
Interior cabinet lighting (especially glass-front uppers), toe-kick LED strips, and inside tall pantry units. This is the layer that separates good from great — it adds depth and makes the room read as designed, not assembled.
Layer 4 — Decorative (the jewelry)
One serious pendant or chandelier over the island. The decorative layer is where personality lives. Sized correctly (island length divided by 3, generally), it becomes the visual signature of the room.
Color temperature, CRI, and the dimming question
- ·2700K everywhere (warm white) — never mix temperatures in one room
- ·CRI 90+ minimum; 95+ on task lighting where you read food labels and color
- ·Every layer on its own dimmer — minimum three scenes (cooking, dining, ambient)
- ·Smart system (Lutron, Crestron) integrates layers and saves scenes
4 layers
the minimum count that separates a luxury kitchen from an expensive one
The single fastest kitchen upgrade
Add under-cabinet LED, interior cabinet lighting, and a Lutron dimming system to an existing kitchen. Same cabinets, same stone, same appliances — completely different room. Under $4,000 in most homes.
Action items
0/7 · 0%Four-layer lighting plan checklist
Why most kitchens fail at lighting
The most common kitchen lighting plan is six recessed cans on a single switch and one pendant over the island. It produces flat, uniform, shadowless light at one intensity, all the time. Every surface gets the same wash; nothing has depth, no zone has emphasis, and the room cannot transition from cooking mode to dining mode without a different bulb. A luxury kitchen needs four independently controlled layers, each doing one job, all rendered at the same color temperature with high CRI. The cabinets and stone don't change; the room becomes a completely different space morning vs night.
Pros and cons of each layer
Ambient — Pros: foundational visibility, sets the overall mood, easy to dim. Cons: alone, it produces flat hospital-grade light; needs to be paired with the other three layers.
Task — Pros: makes counters genuinely usable for prep and serious cooking, eliminates shadows from upper cabinets, reads as a luxury detail when integrated invisibly. Cons: cheap LED tape has visible diodes and uneven color; you must specify high-CRI, color-matched product or it will undermine everything else.
Accent — Pros: the single layer that most separates designed kitchens from assembled ones; reveals cabinetry interiors and adds visual depth that no other layer provides. Cons: easy to over-do; turn it down to 40% in scenes where it should support, not lead.
Decorative — Pros: the visual signature of the room; carries personality, scale, and warmth. Cons: oversize or undersize the fixture and the entire room reads wrong; budget at least 15% of the lighting line item for the right decorative piece.
A practical specification guide
- ·Ambient: 4" recessed downlights, 2700K, 90+ CRI, on a 4-ft grid, 24" from any wall
- ·Task: high-density LED strip (warm white, 90+ CRI) on every wall cabinet, mounted to the front edge of the cabinet bottom
- ·Hood: integrated halogen or LED at 2700K matched to ambient
- ·Pendants over island: count = island length ÷ 3, hung 30–36" above counter
- ·Accent: interior cabinet LED strips on every glass-front upper and inside tall pantries
- ·Toe-kick: optional LED strip for evening / cocktail-hour low light
- ·Decorative: one feature fixture (linear pendant or chandelier) sized to your island, never centered on the room
Color temperature and CRI rules
Pick 2700K and use it everywhere in the kitchen. Mixing 2700K and 3000K in the same room is the single fastest tell that a kitchen was assembled from box-store fixtures rather than designed. CRI (Color Rendering Index) below 90 makes food look gray and cabinet finishes read muddy; below 80 is unacceptable in a luxury kitchen. Verify CRI in writing on every fixture before specifying — many low-cost LEDs advertise lumens and color temperature but omit CRI because their numbers are 75–82.
Controls — the layer that ties it together
- ·Every lighting layer on its own dimmer — non-negotiable
- ·Minimum three preset scenes: cooking (all layers high), dining (ambient low, accent on, decorative warm), ambient (only accent and toe-kick)
- ·Smart system (Lutron Caseta, RA3, or Crestron) for integrated scenes and time-of-day automation
- ·Wall keypads, not multiple switches — a keypad with three scene buttons reads more luxurious than six conventional dimmers
- ·Voice control via Lutron-Alexa or Lutron-HomeKit integration is genuinely useful when your hands are full of dough
The lighting upgrade for an existing kitchen
If you are not ready for a full renovation, retrofit lighting alone changes a kitchen more than any other single intervention under $10K. Add under-cabinet LED strips on every wall cabinet, interior lighting in any glass-front uppers, a single great pendant or linear fixture over the island, and a Lutron system to coordinate the layers. Same cabinets, same stone, same appliances — a completely different room. Most homes can complete this work in 2–3 days for $3,500–$8,000 depending on existing wiring.
The four-layer test
Stand in your kitchen at dusk with all lights on. Can you identify four distinct sources doing four different jobs? If no, you have a one- or two-layer kitchen. Adding the missing layers is the highest-return lighting investment you can make.
A lighting plan walkthrough
Plan the lighting in reverse — start from how the room should feel at each time of day, then work back to fixtures. Morning, 7 AM: bright, energizing, food-prep focused — ambient at 70%, task at 100%, accent at 30%, decorative off. Midday, 1 PM: balanced, supports cooking and casual use — ambient at 60%, task at 80%, accent at 40%, decorative at 30%. Dinner, 7 PM: warm, intimate, supports the dining table even if it is in the room — ambient at 25%, task at 0%, accent at 80%, decorative at 60%. Late, 11 PM: low ambient wayfinding only — toe-kick on, everything else off. Saving these as named scenes on a Lutron keypad changes how the kitchen feels across the day in a way nothing else does.
Fixture selection by category
- ·Recessed downlights: aperture 3.5–4", trimless or minimal-trim flange, 2700K, 90+ CRI, dimmable to 1%
- ·Under-cabinet: high-density LED strip with diffuser, 2700K, 95+ CRI, hard-wired (not plug-in)
- ·Island pendants: count = island length ÷ 3; 30–36" above counter; sized to roughly 1/3 the island width
- ·Decorative chandelier: scaled to the room, hung 7'2" minimum bottom-of-fixture above floor
- ·Interior cabinet: LED tape with motion sensor at every glass-front upper and inside the pantry
- ·Toe-kick: linear LED on a separate dimmer for evening low-light mode
- ·Sconces: optional bookend lighting on the range wall or above open shelving; 2700K, dimmable
Common lighting mistakes we audit out
The five most common kitchen lighting failures we see when reviewing existing kitchens for renovation: (1) all fixtures on a single switch, eliminating scene control; (2) mixed color temperatures (2700K downlights, 3000K under-cabinet, 4000K refrigerator interior) — reads as chaotic; (3) under-cabinet LED with visible diodes — caused by ungrooved cabinets and cheap strip; (4) pendants centered on the room instead of the island, making the room read off-balance; (5) no accent layer at all, leaving the kitchen flat regardless of cabinet and stone quality. All five are correctable, often without major construction.
A practical retrofit budget
- ·Basic retrofit (replace existing fixtures, add under-cabinet LED, add dimmers): $2,500–5,000
- ·Mid retrofit (above + add interior cabinet lighting + Lutron Caseta system): $5,000–10,000
- ·Full retrofit (above + decorative fixture upgrade + add toe-kick + Lutron RA3): $10,000–22,000
- ·Allow 2–3 days of electrician time per tier; minimal drywall repair if existing wiring is reused
- ·Coordinate with painters if any switch or fixture relocation requires new openings
Interactive · assessment
Score your kitchen's lighting
Take our 2-minute assessment — lighting is one of the seven categories. See how your kitchen ranks.
Score my kitchenFAQ
Frequently asked questions
Counted properly: 6–10 recessed downlights, 1 strip per wall cabinet, 1–3 pendants over the island, plus interior cabinet lighting. Most kitchens we audit have fewer than half this count.
Next step